Making a Basic Signature Image (Photoshop CS4)
Posted: April 8th, 2010, 9:37 pm
Ok, here we go!
First off, go to BrushEezy.com and download the Brushes you want.
It's all free! Take your time!
To install downloaded brushes:
1. Extract the .zip or .rar with Winrar or 7-zip
2. Find the .abr file
3. Double click on it, Photoshop should run
4. Installed into Photoshop.
After that, we begin the actual tutorial.
Step 1: Open Photoshop and Begin a New Project
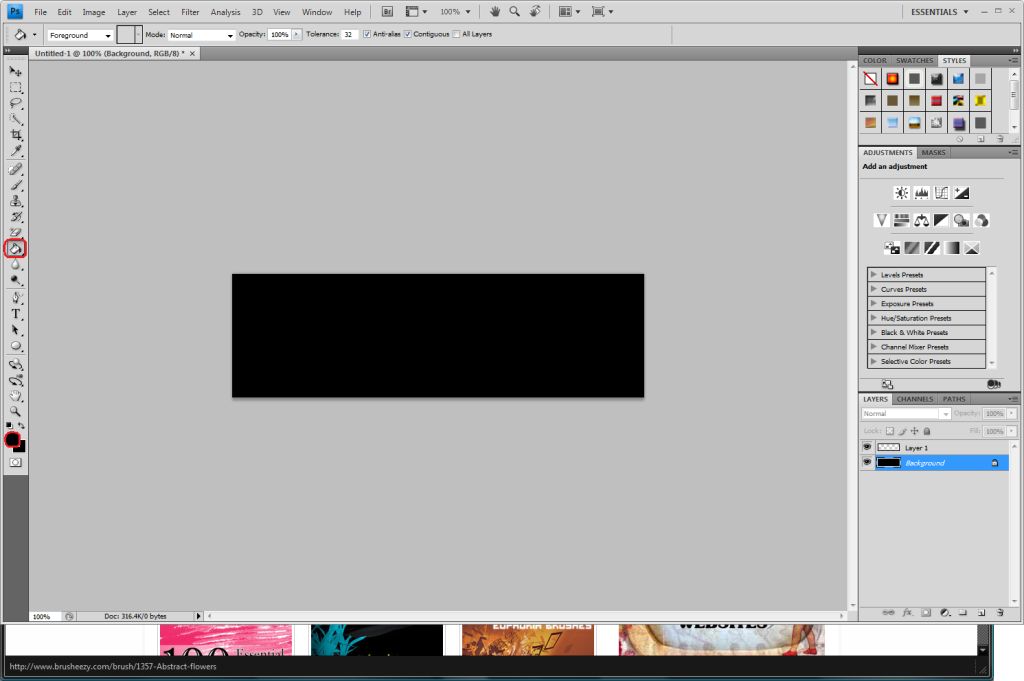
Step 2: Make a Layer 2, and make the 'Background' a color using highlighted 'Fill' tool. I like black.
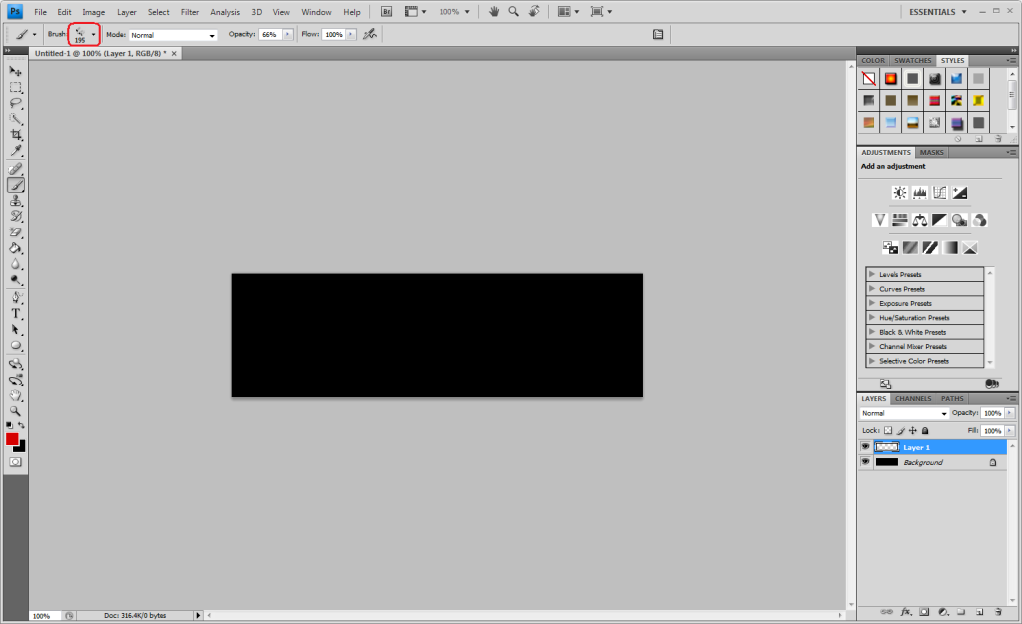
Step 3: Click on 'Brush' (1). To select your downloaded brushes, click on the arrow and scroll waaay down to the bottom (2).
1.

2.
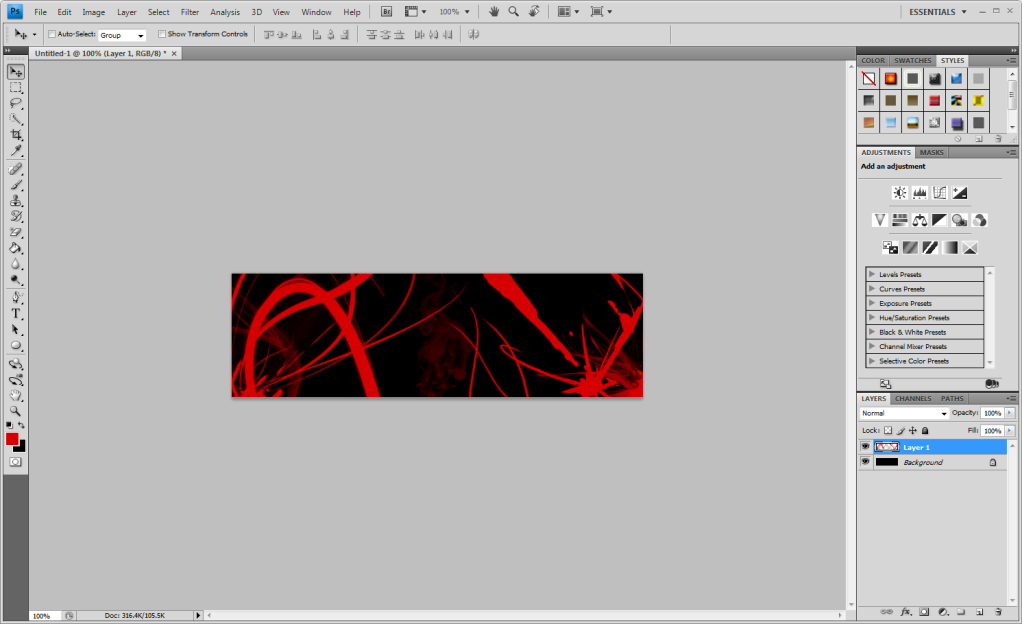
Step 4: Here is where your innovation and imagination come forth. Play around with brushes, brush sizes, and so forth. Flip the photo for more effects, have fun!
***************HERE ONWARDS IS OPTIONAL!******************
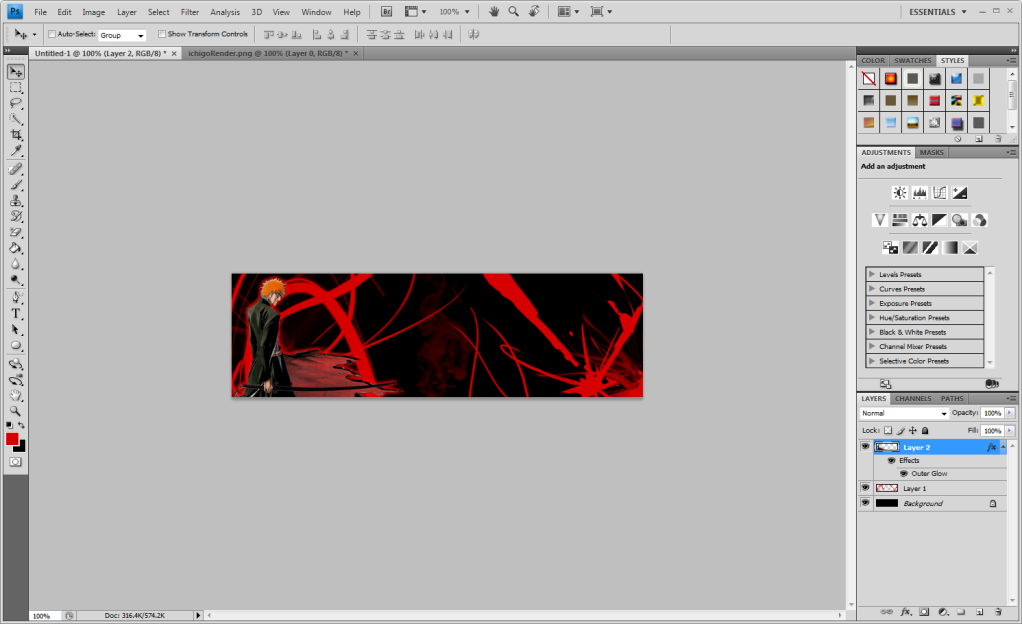
Step 5: Place a Render in front (Pre-made ones by me are ---->HERE<----)
Step 6: Place text into your Picture

Hope to see lots of new graphics soon!
First off, go to BrushEezy.com and download the Brushes you want.
It's all free! Take your time!
To install downloaded brushes:
1. Extract the .zip or .rar with Winrar or 7-zip
2. Find the .abr file
3. Double click on it, Photoshop should run
4. Installed into Photoshop.
After that, we begin the actual tutorial.
Step 1: Open Photoshop and Begin a New Project
Step 2: Make a Layer 2, and make the 'Background' a color using highlighted 'Fill' tool. I like black.
Step 3: Click on 'Brush' (1). To select your downloaded brushes, click on the arrow and scroll waaay down to the bottom (2).
1.
2.
Step 4: Here is where your innovation and imagination come forth. Play around with brushes, brush sizes, and so forth. Flip the photo for more effects, have fun!
***************HERE ONWARDS IS OPTIONAL!******************
Step 5: Place a Render in front (Pre-made ones by me are ---->HERE<----)
Step 6: Place text into your Picture
Hope to see lots of new graphics soon!